Saved Searches
Saved Searches are quick and easy reports generated from criteria entered on the Search Issues screen. Once “Saved,” the Search can be run anytime with the most current data or delivered at regular intervals to select users via email in Excel or html format as a Scheduled Report from the Reports menu. Optionally, Saved Searches may also be “Shared” on a case-by-case basis, making them accessible to other users. In the case of Saved Searches, marking a Search “Shared” will make it public and viewable to all your users. However, all output will be filtered based on user permissions on a user-by-user basis.
To create a Saved Search, select the Search Issues menu option. Enter the criteria you require on the search screen displayed.
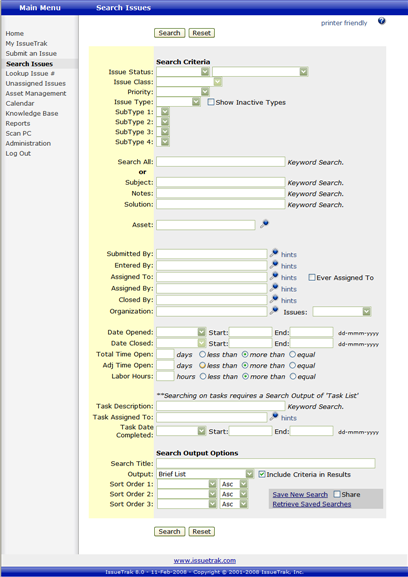
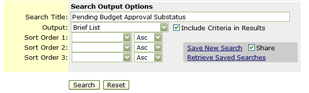
In the Search Output Options section at the bottom of the screen, enter a title for the new Saved Search in the “Search Title” field, select the appropriate output, define sort values, etc. Select “Share” if you would like the Saved Search available to all users. Then click “Save New Search” to the bottom right of the screen.
You will receive a warning that you are about to save your search criteria. Click “OK” when prompted, “’Search Title…’ will be saved as a new search. Continue?” If you have created a “Shared” search, click “OK” when prompted, “’Search Title…’ will be saved as a new search. Continue?”
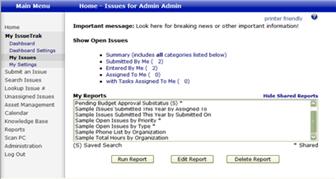
The Saved Search will then be available in the Reports menu > Saved Searches, or accessible via the Search Issues screen by clicking the “Retrieve Saved Searches” link that appears at the bottom right. A shortcut to the new Saved Search will also be sent to the My Issues page in the “My Reports” section at the bottom.
NOTE: Depending on user permissions, all current Saved Searches a user has access to will be displayed in these 3 places.